

Microsoft Authenticator - MATE IT Department
Setup Microsoft Authenticator
Menu Display
Setup Microsoft Authenticator
Last modified: 19. February 2026
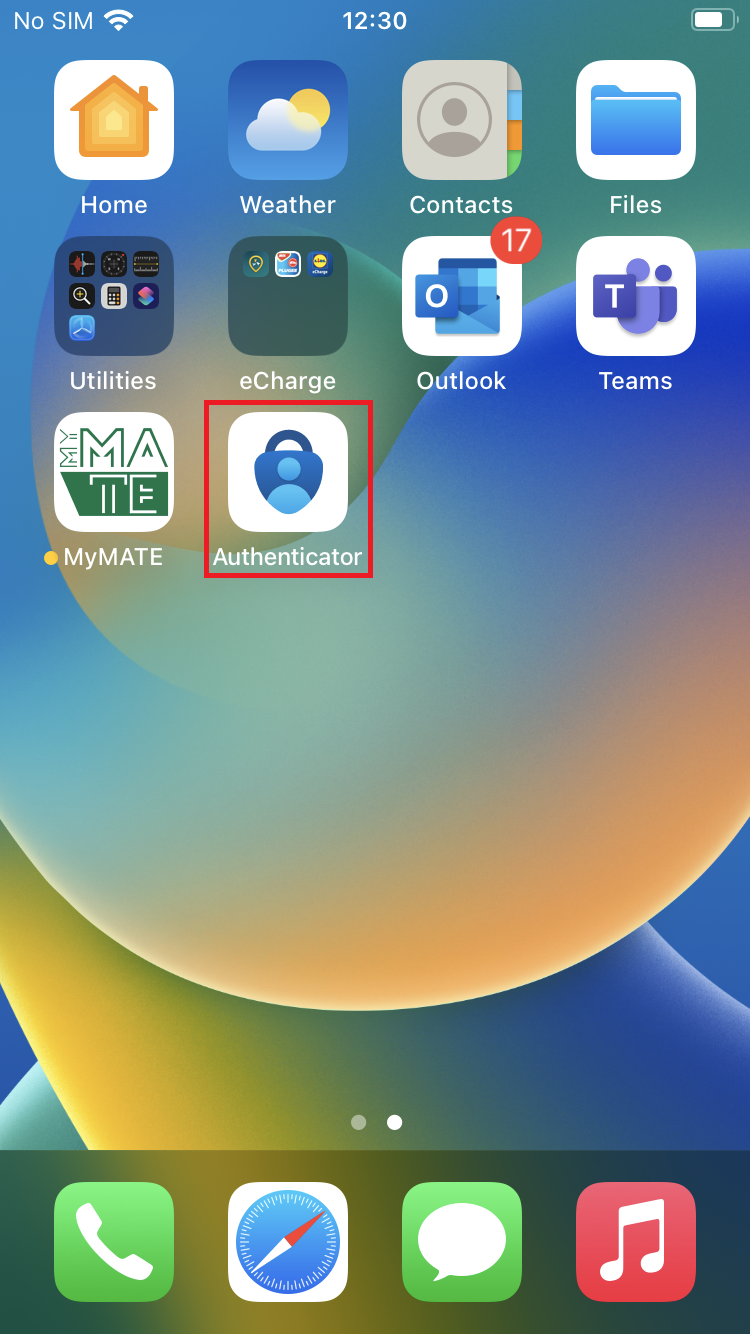
1. Install the Microsoft Authenticator app from the Apple App Store or Google Play Store. If prompted, enable the app to send notifications.
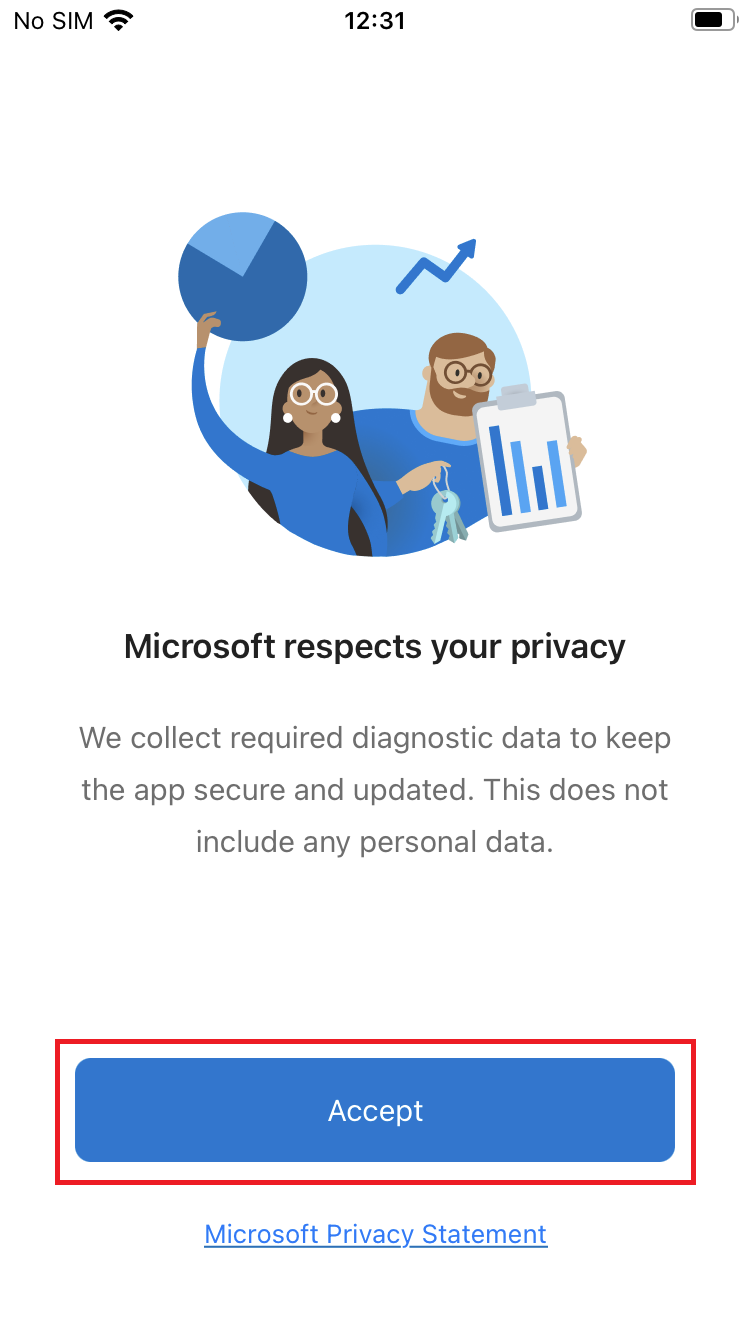
2. Launch the app, then click Accept.
3. Select Scan QR code.

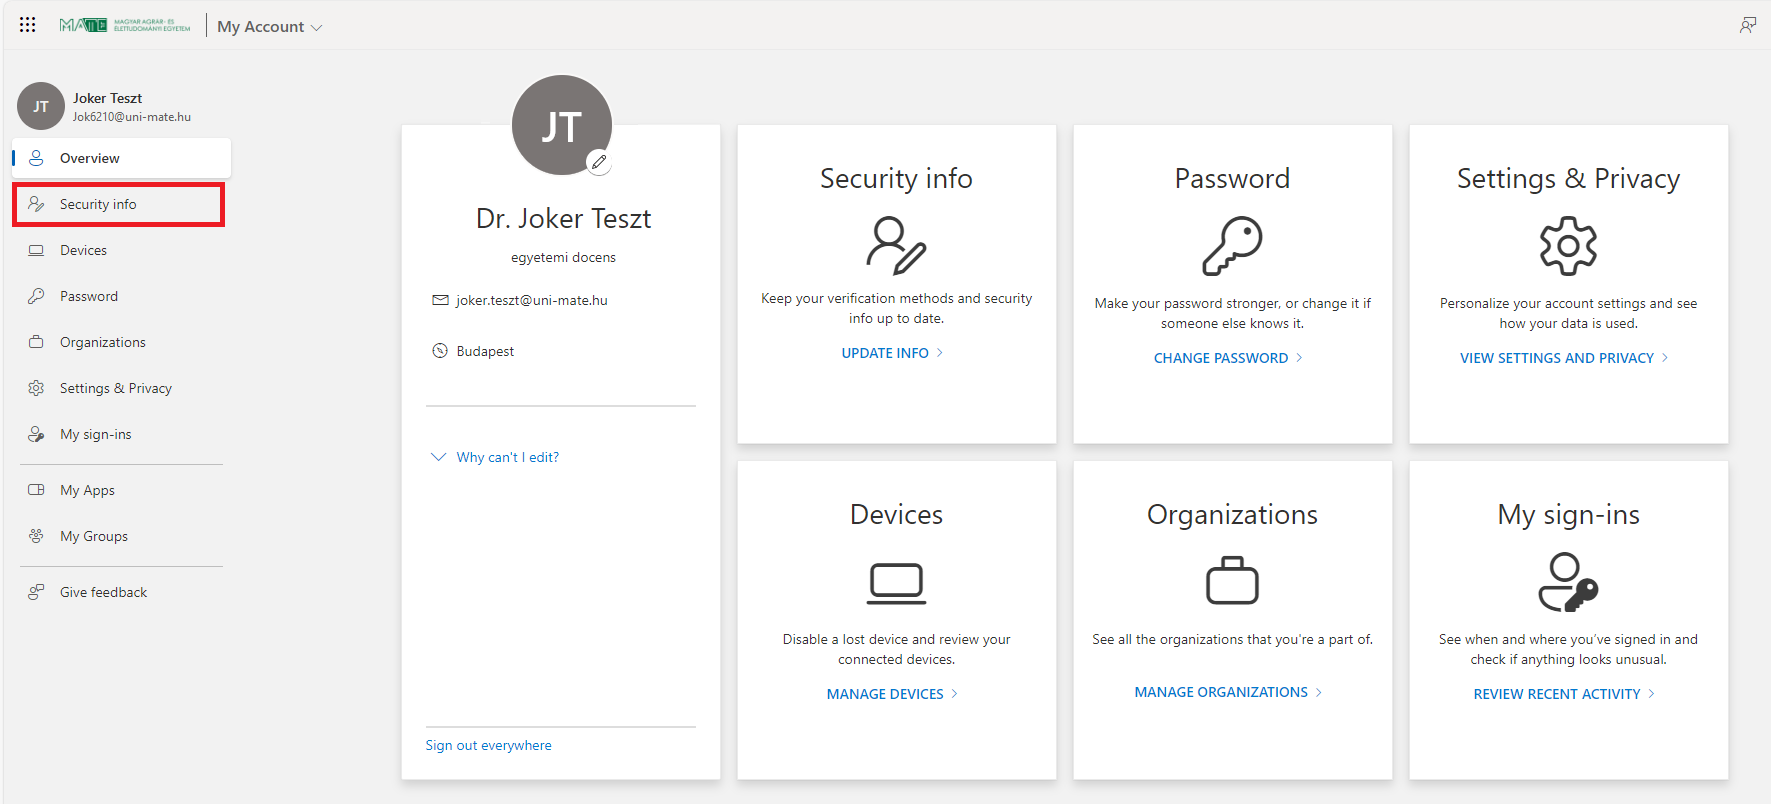
4. Log in at https://myaccount.microsoft.com with your MATE ID (ending with @uni-mate.hu, e.g. Abc1234@uni-mate.hu) and the password you set on the JoKeR site. If you logged in successfully, click on the Security info menu.
5. On the Security info tab, click on the Add sign-in method link.
6. In the window that appears, select Microsoft Authenticator from the menu.

7. Click on the Next button.

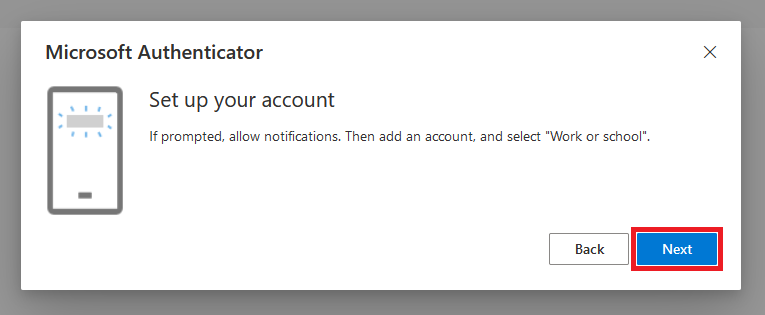
8. In the new window, click Next.
9. User your phone to scan the QR code that appears, then click Next.

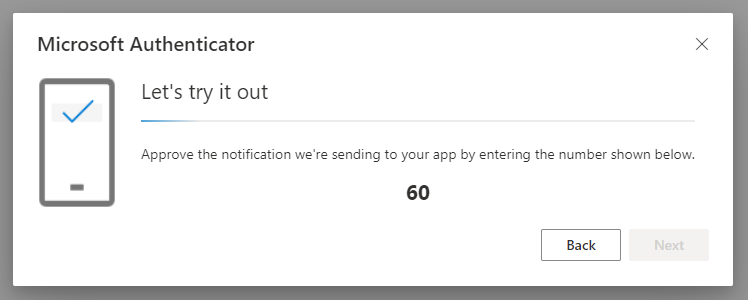
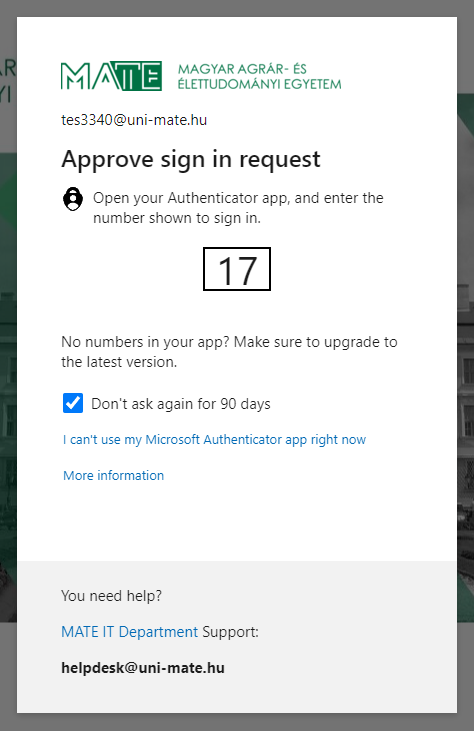
While the browser waites for approval, a number is displayed.
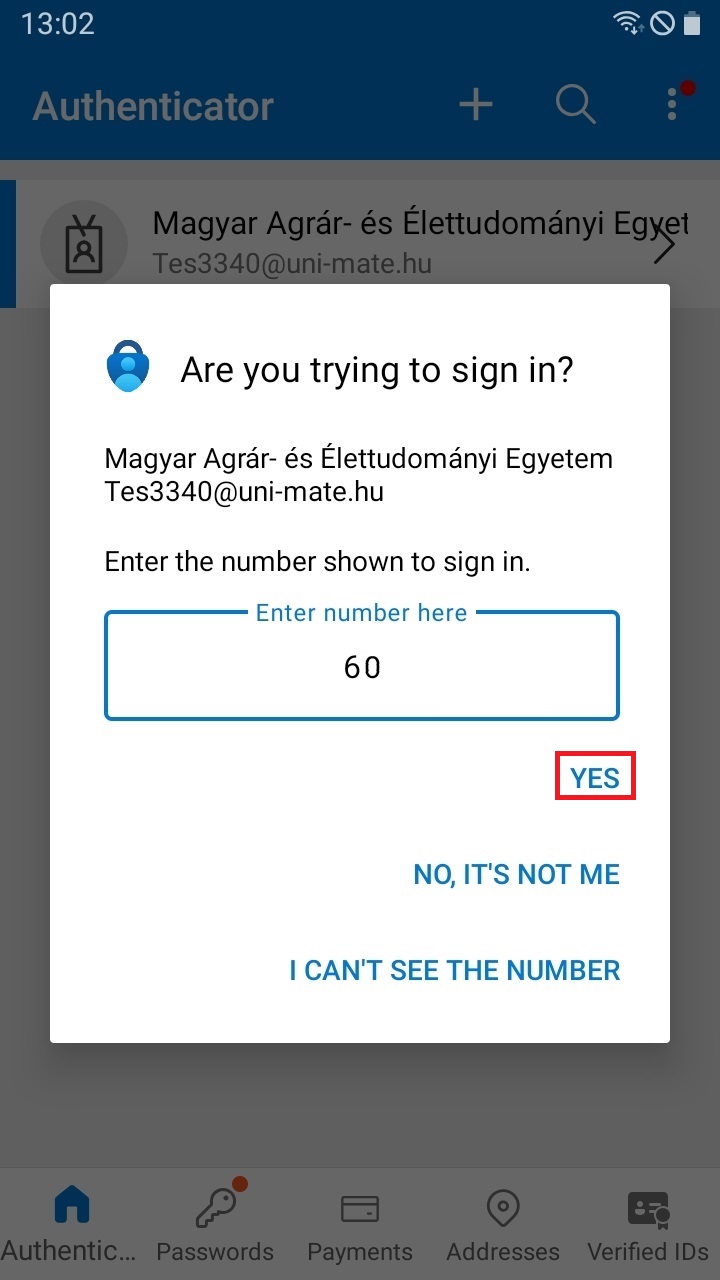
10. The authenticator app will automatically add your cloud account when the QR code scanned, and displays a notification for secondary authentication. To continue the approval process you must enter the number displayed in the browser and select Yes option.
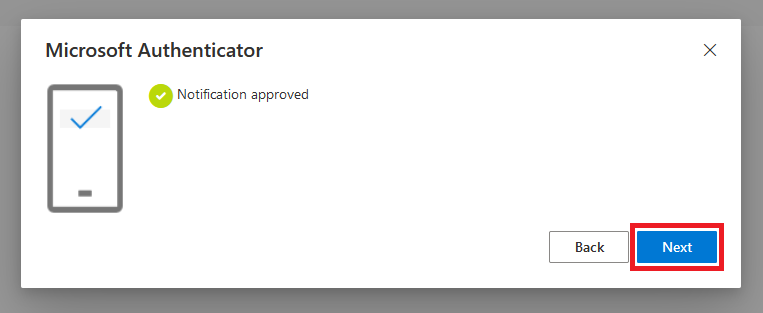
After approval, the following window will appear. Click Done to continue.
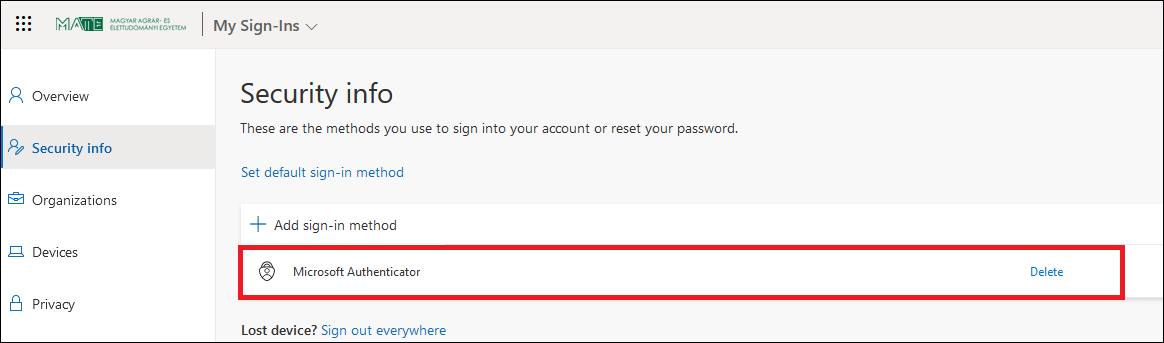
11. The Microsoft Authenticator setup successful. You can use it for secondary authentication.
12. After activating multifactor authentication, you must enter the number displayed in the browser and select Yes, into the notification sent by the Microsoft Authenticator app when you want to access M365 services (e.g. Outlook mail) from outside the university.
Once activated multifactor authentication you will need to log in again to applications installed on the smart devices (e.g. Teams, Outlook).
If you leave checked the Don't ask again for 90 days checkbox, applications will ask to do secondary authentication only every 90 days.