
Asztali Outlook beállítása - MATE IT Department
Setting up Outlook Desktop (Windows)
Setting up Outlook Desktop (Windows)
Last modified: 05. April 2023
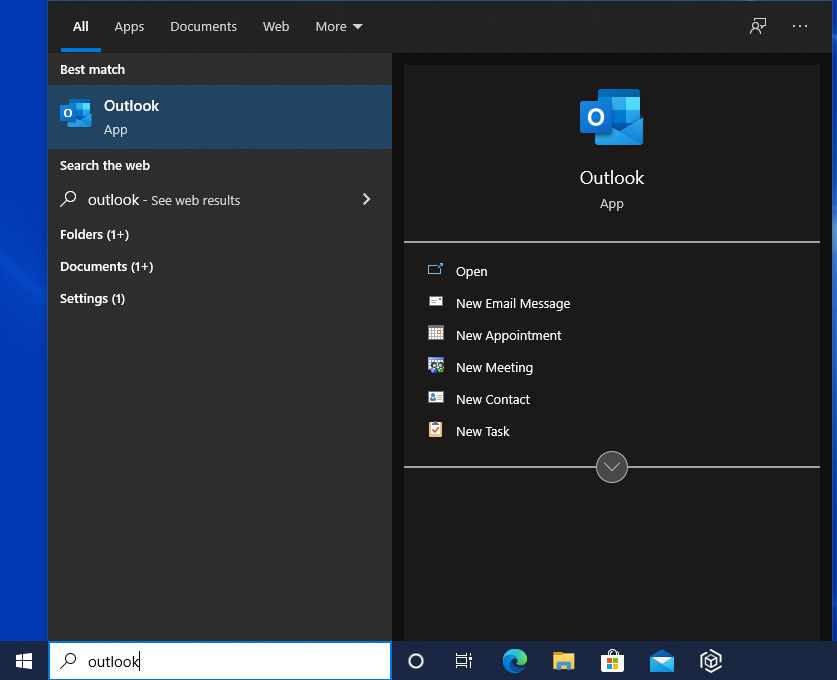
1. Launch the Outlook application.
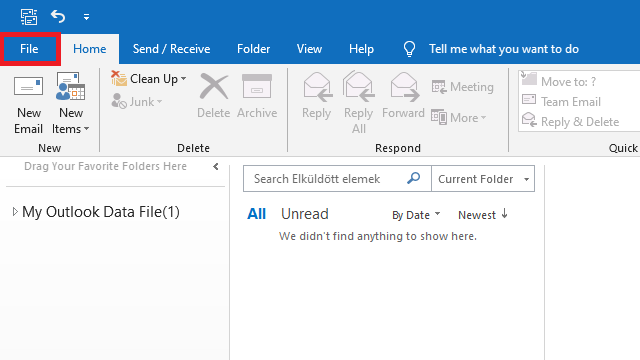
2. If you have not used Outlook yet, the Add Account Wizard will start automatically. In this case, skip to step 4. Otherwise, select the File menu.
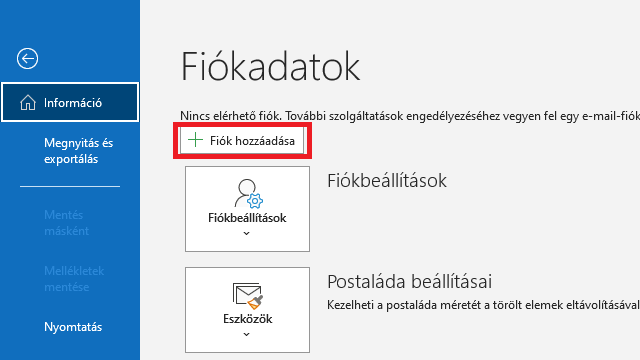
3. Click Add Account in the next window.
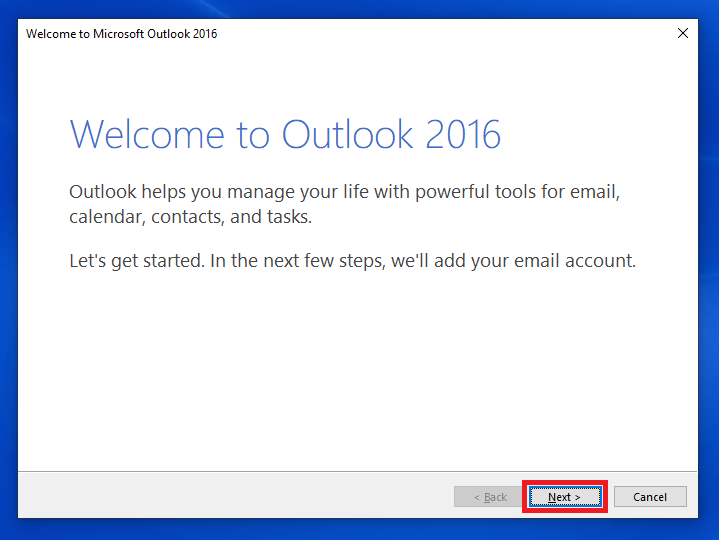
4. This will launch the Add Account wizard. Depending on whether or not the simplified account creation feature is turned off, you may be seen with one of two windows when the wizard starts.
5. Click on the Next button.
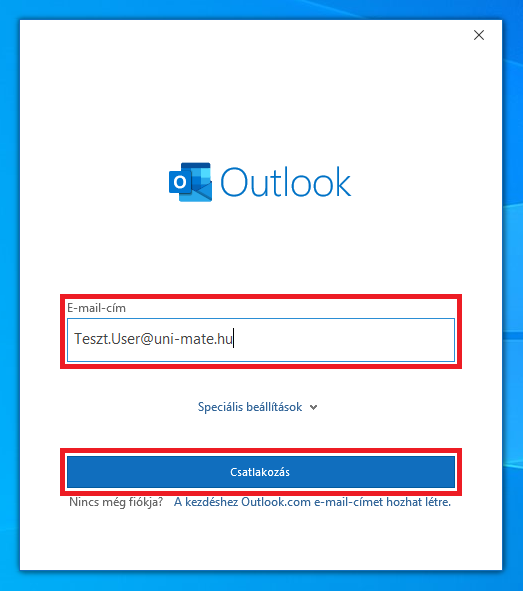
Enter your email address and click the Connect button. Skip to point 9 of the guide.
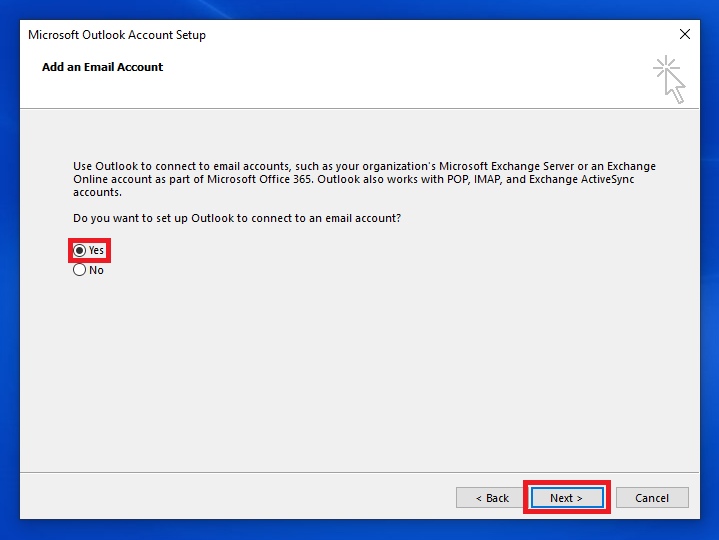
6. Choose Yes then click on the Next button.
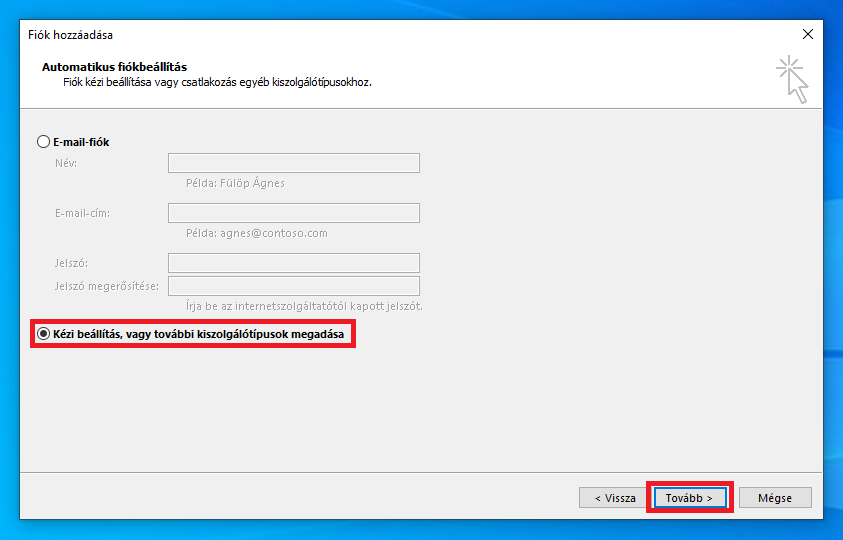
7. Select Manual setup or additional server types and click Next to go to the following page.
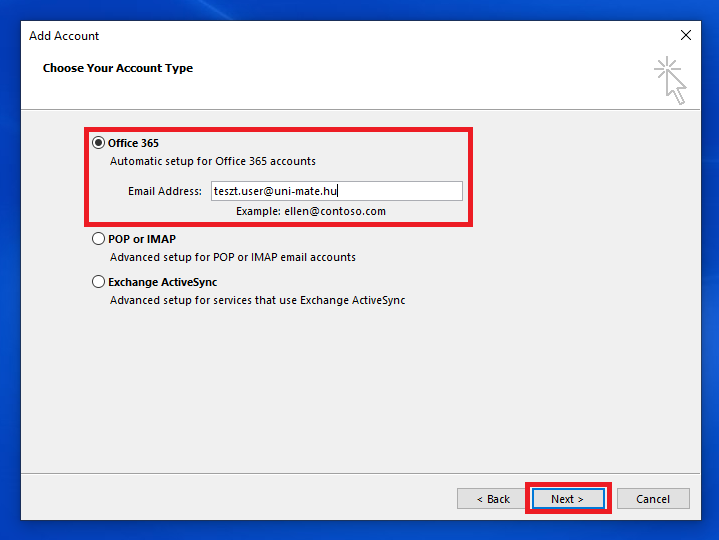
8. Select the Microsoft 365 option and enter your e-mail address. Click the Next button to continue.
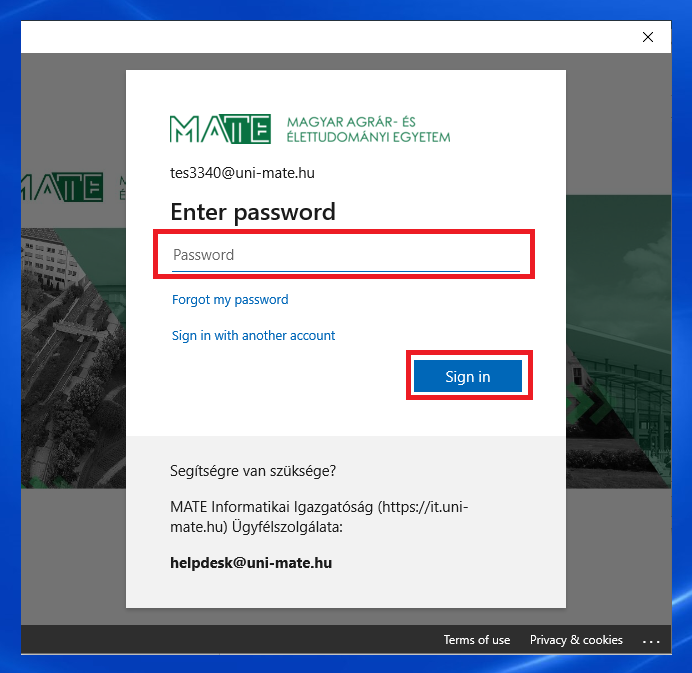
9. Outlook will automatically set up the account. Enter your account password when required and click Sign in.
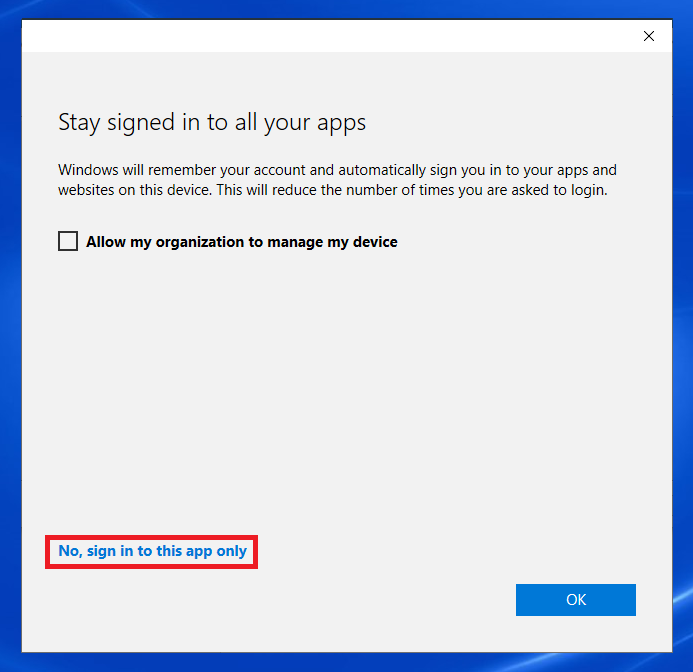
10. If you set up the account on a university-owned computer, click OK to finish. If the computer is yours, click the No, sign in to this app only link.
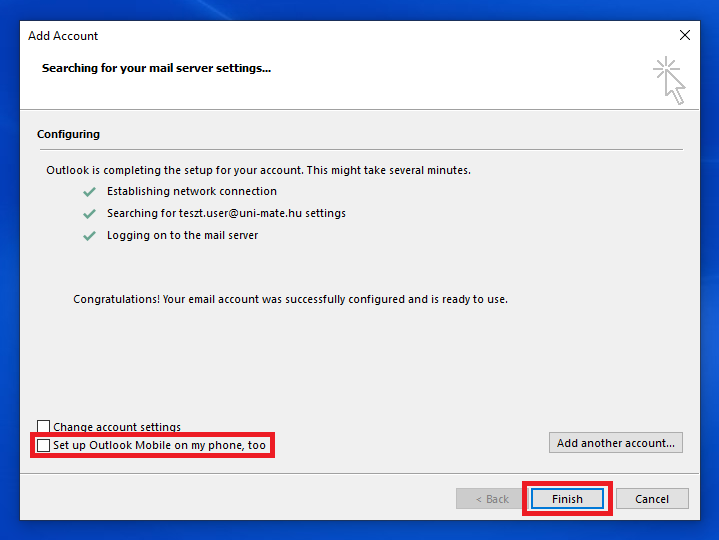
11. Unselect the Set up Outlook Mobile on my phone, too and click on the Done or Finish button.
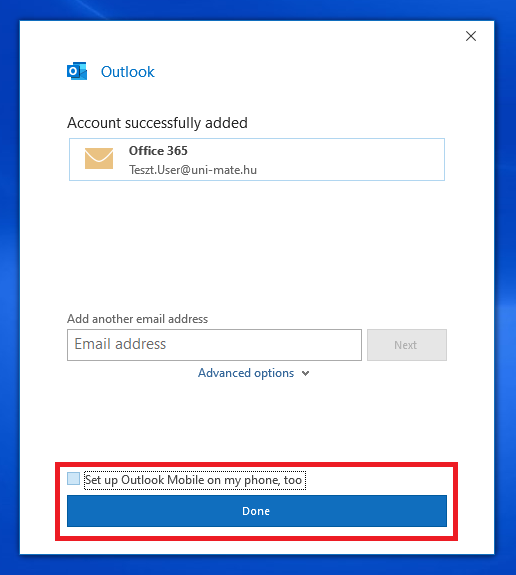
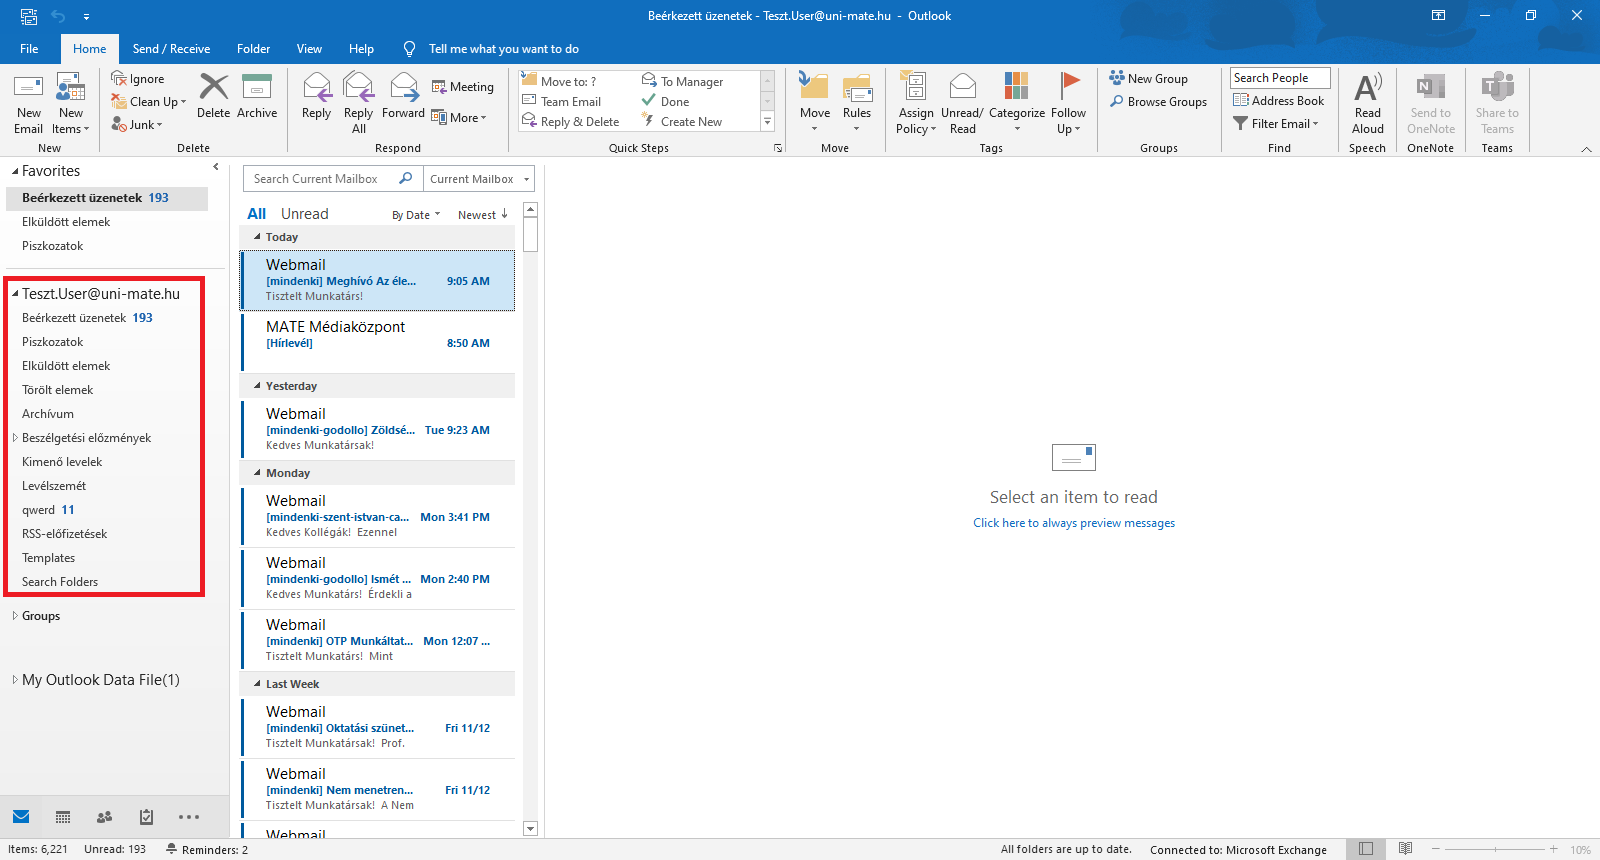
12. This completes the account's setup. Outlook will synchronize the mailbox, you can access the data in the folder window on the left.